Friday, May 16, 2014

home made cornmeal

An easy task.....grinding your own cornmeal / cornflour

Grinding our own flour / meal was something that we knew would be easy, but we didn't really want to spend over a hundred dollars on an electric grain mill. Luckily, I came across a few hand operated grinders on ebay for anywhere from 24.95 to 39.99.  I elected the cheapest one first (just to see how "bad" it was gonna be.)  I read numerous complaints about the fact that these cheaper models don't really do anything  more than just "crack" the grain.  So I figured I could at least  use it to crack corn for the chickens.  Needless to say, it works much better than expected, you just need to run the grain through it more than a few times to get the desired results.

This is the hand grinder I bought for 24.95 (free shipping too!)
I decided to try corn first.

You will also need a strainer and a bowl.

After filling the grinder with the corn (or whatever grain you are using), I suggest using a large plastic ziplock and a rubber band to catch the millings. It is not necessary, but it can make quite a mess otherwise. 

This is the perfect time to get the kids involved. (unless of course you have an electric one.) Start the grinding plates out with a decent gap where most of the kernels are cracked. Then, refill the grinder with the millings and reduce the gap between the grinding plates. Regrind. Refill. Reduce gap. Regrind. Refill. Reduce gap. Regrind.....are we seeing a pattern here yet? Keep it up until you get the desired texture. This batch we did took 7 times. The more you do it, the more meal / flour you will get and the less tailings that get feed to the chickens. 

The first bowl shows the texture after the first run through the grinder. The second bowl is after 5. I probably could have reduced this to 4 or five grindings by reducing the gap more between each grind, but I don't like to over work the grinding plates.


After the last grind, I dump the millings into the strainer which has been placed in the bowl. (I do this in small amounts so I have room to shake, rattle and roll.

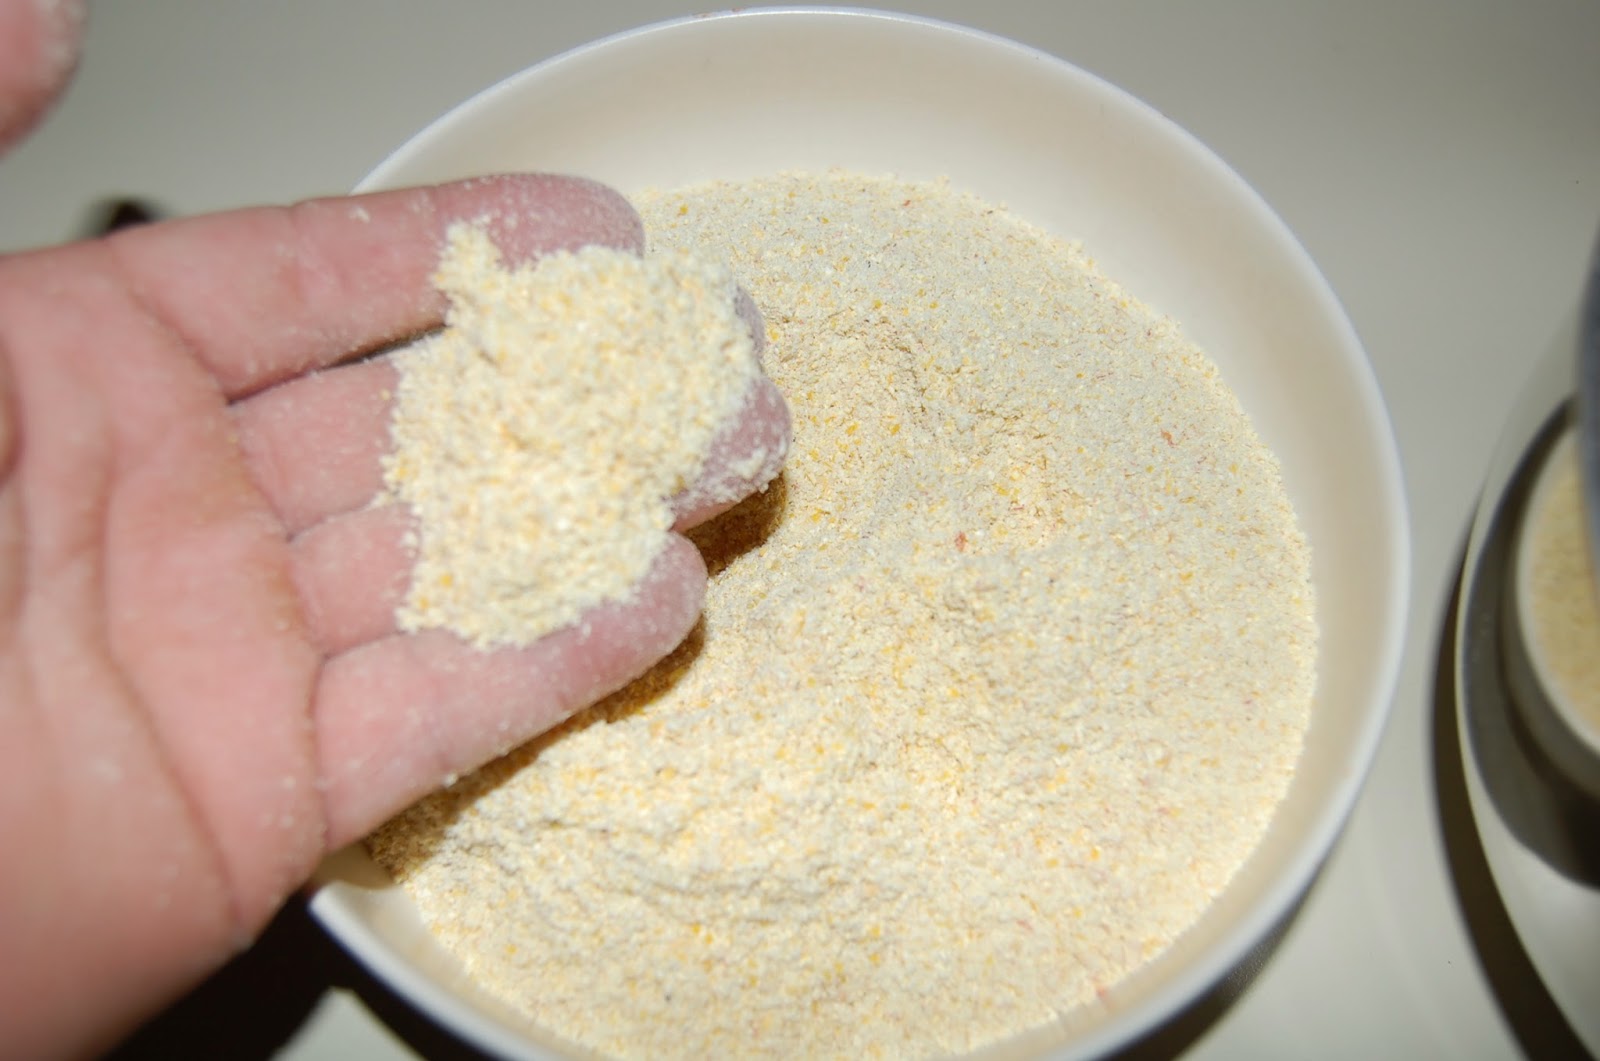
The left bowl is the final product I wanted (cornmeal). The bowl on the right is the tailings I will feed to the chickens. These are much finer than the cracked corn you get at the farm stores, so I like to mix them into the chick feed when the chicks are about 3 weeks old.
Time to bread some fish.....or make corn muffins!!!!
Thanks for checkin us out.
OLBF

Monday, March 31, 2014

Homemade maple syrup

How we make our Homemade Maple Syrup
Maple syrup is super easy to make. Anyone can do it. All you need is a way to gather the sap, and a way to cook it down. One method of gathering sap is somewhat more modern, utilizing T-connections and hoses to create a system which brings all of the sap to a single collection point. Of course, anyone who knows our family, knows that we sometimes like to do things the hard way. Or what we like to call "old school". One of the best christmas presents ever given to me was three years ago when I tore through the carefully wrapped paper to reveal three well used metal sap buckets. In the bottom of the buckets were the same number of spiles, and upon lifting them out of the box, the lids underneath. I couldn't wait to tap my silver maple. Yes "silver maple". Most people think you have to tap sugar maples, but essentially, you can tap any maple. I have even heard of people tapping birch trees and rendering birch syrup. 
This year, we made sure to involve the children in every step of the process. 

First, as you can see in the pictures above, and below, we used an old hand powered drill with a 3/8 inch drill bit to make a hole for the spiles to seat into. When choosing a place for the hole, try to drill above a large root. (the sap is stored underground in the roots through the winter, and when it begins to flow back above ground, It will travel the easiest paths.)  Drill the hole at a slightly upward angle, about 1 1/2 to 2 inches deep.
Trees are tapped in very early spring when the temperature falls into freezing temperatures at night, and thaws during the day.  This essentially creates a back and forth flow of sap. 

After the holes are drilled, gently tap the spile into the hole. It is not rocket science here folks. You don't need to be the Hulk, and you don't want it to fall out either. Give it a small tug to see if you think that a 2 gallon bucket hanging on it will pull it out or not. (chances are, a few gentle taps on the hammer will do just fine.

Hang the buckets from the small hooks on the bottom of the spiles.

Place the lids on the buckets. These also attach to the spile as well.

Here they are. Awaiting the sap flow.
Check the buckets daily. On good days, you might even have to check them twice.

Here you can see the sap dripping from the end of the spile. The sap is almost like water. In fact, it is only about 1-3 % sugar and the rest IS water. If you dip your finger in the sap and taste it, you can catch a tiny hint of the yummy sugars. The water is evaporated out during the cooking process to create the high concentration of sugars we love and know as "SYRUP". Cooking it down even further, will yield maple candy (but that is for another day.......)

Most of the sap we collect is transferred to empty water jugs and frozen until we have enough to render down into a good batch of syrup. The usual ratio of sap to syrup is this:  It takes 40 gallons of sap, cooked down to make 1 (ONE) gallon of syrup. Early in the season, when the sugar concentration is higher, it will take less, and later in the season it may take more. 
To evaporate most of the water out of the sap, we use an electric skillet. As the sap level lowers, we continually "top off" the skillet with fresh sap. The water evaporates, leaving the sugars behind. The more sap you render down, the higher the concentration of sugar. The main cooking process is done outdoors (can you imagine how sticky the walls would be in the house after you turn 20-40 gallons of water into vapor.).

When the sap is mostly rendered down, or in our case, when daylight is running short and you need to quit for the day, we take the rest inside and finish the syrup off in a large pot on the stove. By doing this, you cut the surface area down dramatically and can control the thickness of the syrup much more easily. Every now and then, turn off the burner and place a small spoonful into the refrigerator for a few minutes to check the thickness. 
We prefer to leave it slightly thinner, it seems to have less crystalizing of the sugars over the course of a few months (if it makes it that long)
This was our first batch of the 2014 sugaring season. About 14 gallons were rendered down to make the 3 cups of syrup in the main picture.
Thanks for checkin us out again. 


Wednesday, February 5, 2014

WINTER


Hello.  We are still here.  Just not doing much blogging these days. Smokey (the male goat) says hi.  He likes the snow.  The girls prefer the shelter (smart girls!).


Here is our wiki-up covered in snow, with our lab, Callie out in front.  We just got about a foot of snow.  The kids are out of school, AGAIN and upset that I won't take them to Nanni's for hot chocolate and fun.  Apparently our hot chocolate and fun isn't good enough.  
We did get them outside and playing.  This snow is light and powdery, so no snowmen, but we have fun sledding and making snow angels. 

Our chickens are cold and unhappy and are not laying eggs - I miss fresh eggs so much!  Store bought are just no where near the same.  
We are burning through firewood like crazy and have found that pinecones and dryer lint are great firestarters, but Jon's paper logs (info to come) are great for kindling! 

Please feel free to comment on how you are enjoying your winter!

Friday, December 20, 2013

Tomato Pasta Sauce

Tomato Pasta Sauce
Posted by Cris

We love our fresh tomatos all summer, but then they all come at once so we blanch them (quick 10 secs in boiling water), peel the skins and core them and freeze them in bulk.

And then hunting season comes and I start cooking. Only this year Jon didn't go up nort' so he helped!

Ingredients
Tomatoes
Zucchini (or squash)
Onions 
Garlic
Basil
Salt and Pepper

I would love to give you exact amounts and all so you could replicate this, but that's not how I cook.  I had 4 big gallon ziploc bags of tomatoes, 6 cups of zucchini (measured pre-frozen) and 1 onion and LOTS of garlic  (10-14 cloves) basil and salt and pepper are to taste. 

Here are the steps - defrost (it took a good 24 hours for those tomatoes)

Chop and Saute the onion and garlic.


Enjoy the smells!   Put it all in the slow cooker to marinate. 

 Add the garlic and onions to the slow cooker. 

 Add BASIL (I love basil! check out pesto here!) I rescued this tiny plant from the garden and its now on my kitchen windowsill for fresh basil all year long.  I also have a lot of dried basil.  Both work great.  
  
 Zucchini is not the most common ingredient in tomato sauce, but we always have a lot of excess that I shred and freeze in 2 cup portions.  *Why 2 cups? It's the right amount for zucchini muffins. The reason I add it is to thicken the sauce and add some extra vitamins and vegetables - what the kids (and hubs) don't know won't hurt them.   

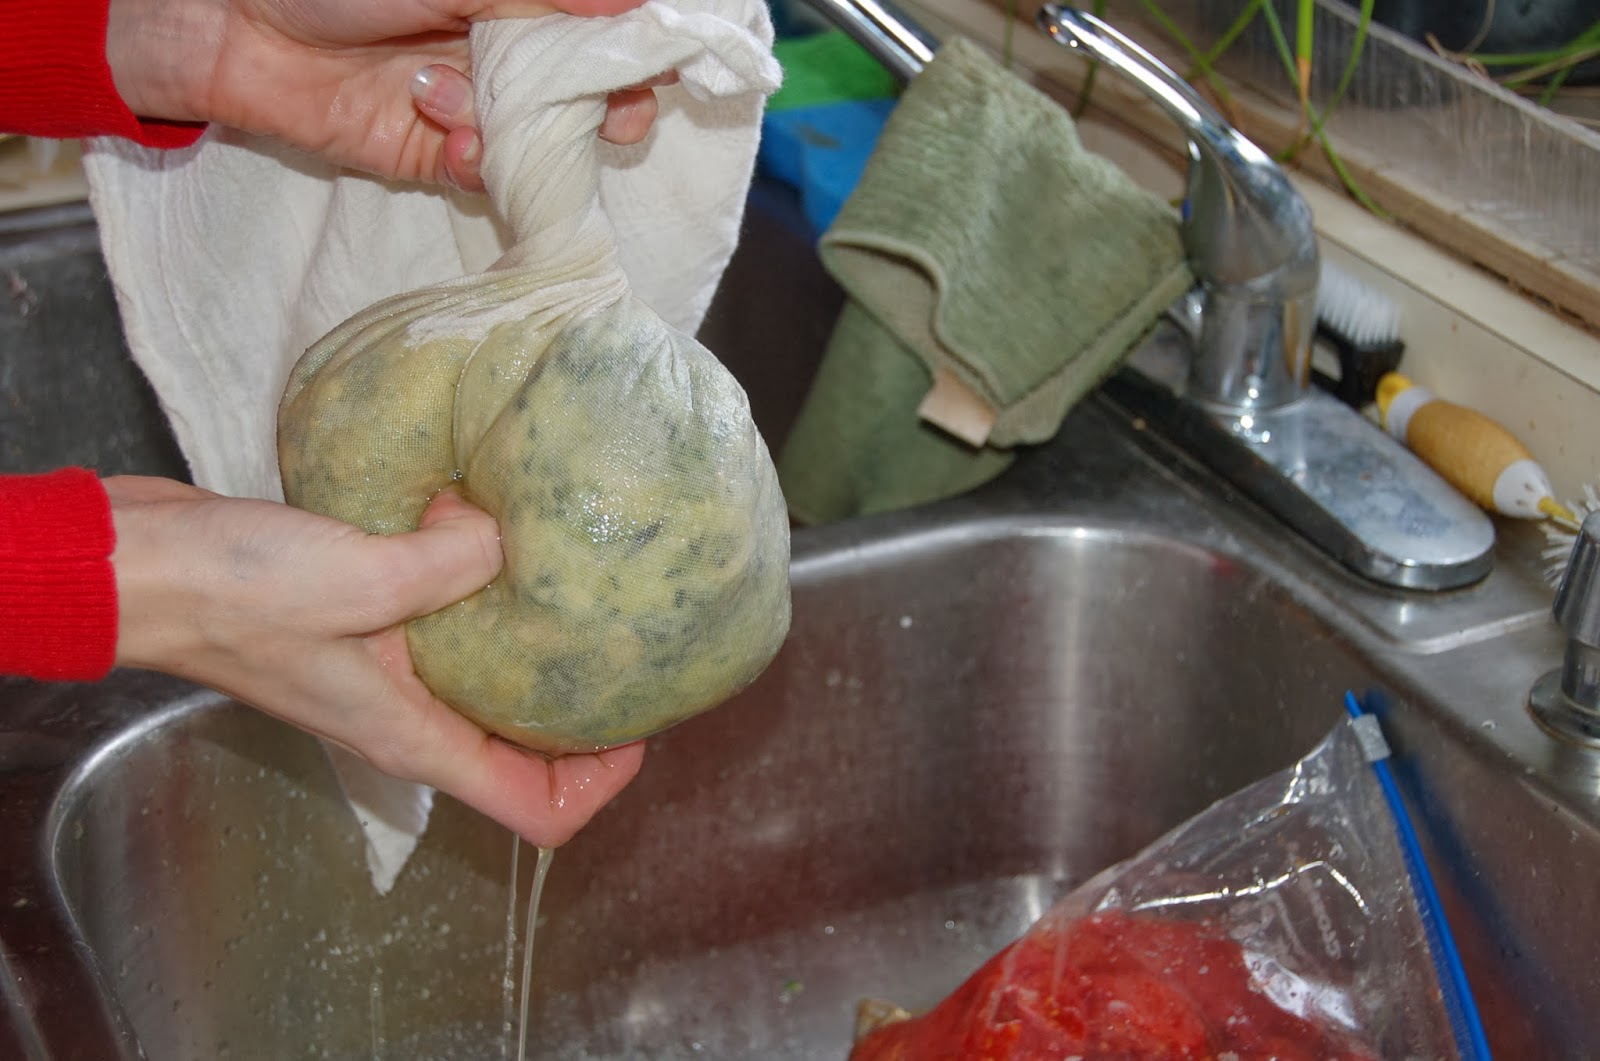
So when it thaws there is a LOT of excess water. Since we are trying to thicken the sauce that needs drained off.  I put all of it into a cheese cloth.   


Wrap it up and strain.  It's really easy.


Okay - so that goes into the slow cooker too.  Mix it all up. Let it cook on low for 6-8 hours or high for 4 hours.  Taste it throughout and add salt and pepper.  If it tastes bitter, you can add carrots (shredded or cooked/mashed) to sweeten things up.  I had to do this last year, but this year it was fabulous without. 

When all done cooking its still very chunky.  We like our tomato sauce well pureed - so we put it in a blender and puree away. 

You can certainly eat this right away or store in the fridge for a few weeks.  

We went ahead and added to jars and started the canning process! 
You need to leave a 1/2 inch of head space. 


Its a water bath process - which I think is easier than pressure cooking, but whatever. 
They have to stay in there for 35 minutes.


And when it was all done we have 12 jars of beautiful homemade Tomato Pasta Sauce. 

PS - Also amazing as PIZZA sauce. 

Sunday, December 8, 2013

How to make Homemade Grape Jelly

Grape jelly is easy. You technically don't even have to have real grapes. You can use store bought grape juice, but then, what fun would that be?  As with any food which you process yourself, making jelly is not only simple, but very gratifying as well. The taste is sooooo much more flavorful when you remember the fact that it was YOUR spoon that stirred it, and it was YOUR hands that picked the grapes, from YOUR vines. A small amount of grapes will yield a LOT of jelly. Can you say Christmas presents? Who doesn't like homemade goods?

First is the obvious. You gotta pick the grapes. I know mine are ripe when the chickens begin wondering beyond their normal range giving the appearance of tiny trampolines beneath the vine, as they jump up trying to get the lower bunches.  I use small shears to detach the bunches, as pulling them off of the vine makes it bounce a lot and drop perfectly good grapes.

Don't they look scrumptious?

After picking the grapes off of the stems, I washed them and threw them all in a cook pot. Add about 1 3/4 cups of water for every 5 pounds of grapes. Mash them with a potato masher. DON'T use a juicer. As with raspberries and such, if you use a juicer, you will get a lot of bitterness from the seeds. They do not have to be crushed very well, the cooking process will bring out the flavor. 

bring the grapes to a boil and then reduce to a simmer for about ten minutes, stirring occasionally. In no time, your kitchen will be smelling like a Welch's factory.

Next, strain it to get rid of the hulls, pulp, and seeds. You wan't only juice if you are trying to make jelly. 


You will need 5 cups of grape juice for 1 batch of jelly. Pictured here is 3 batches worth of juice from our 1 dinky little grape vine.  If you don't quite have 5, relax, you can just add water to the juice. It will dilute it slightly, but providing it is less than 1 cup of water, I doubt you will know the difference.

Along with the 5 cups of grape juice, you will need 7 cups of sugar and 1 pack of Pectin (I use Sure-Jell). Pectin is found naturally in the peels of fruits, but I would suggest buying it if you want to get this jelly done THIS YEAR!.

Pour the juice into your cook pot and put some flammage to it. It needs to come to a boil, so Medium is good.

Pour in the pectin right away and stir it in.

While you are waiting for the juice/pectin to boil, fill your jars with hot water to help prevent breakage when you fill them with your yummy jelly.

Once the juice/pectin reaches a boil, pour in the sugar while stirring constantly. ALL 7 cups.

Keep stirring. You need to reach a full rolling boil for a full minute before turning off the burner.

Then pour the jelly into your jars.

Process the jars for 5 minutes in a water bath.

Let the jars cool for 24 hours and ENJOY!!!!!