Monday, October 13, 2014

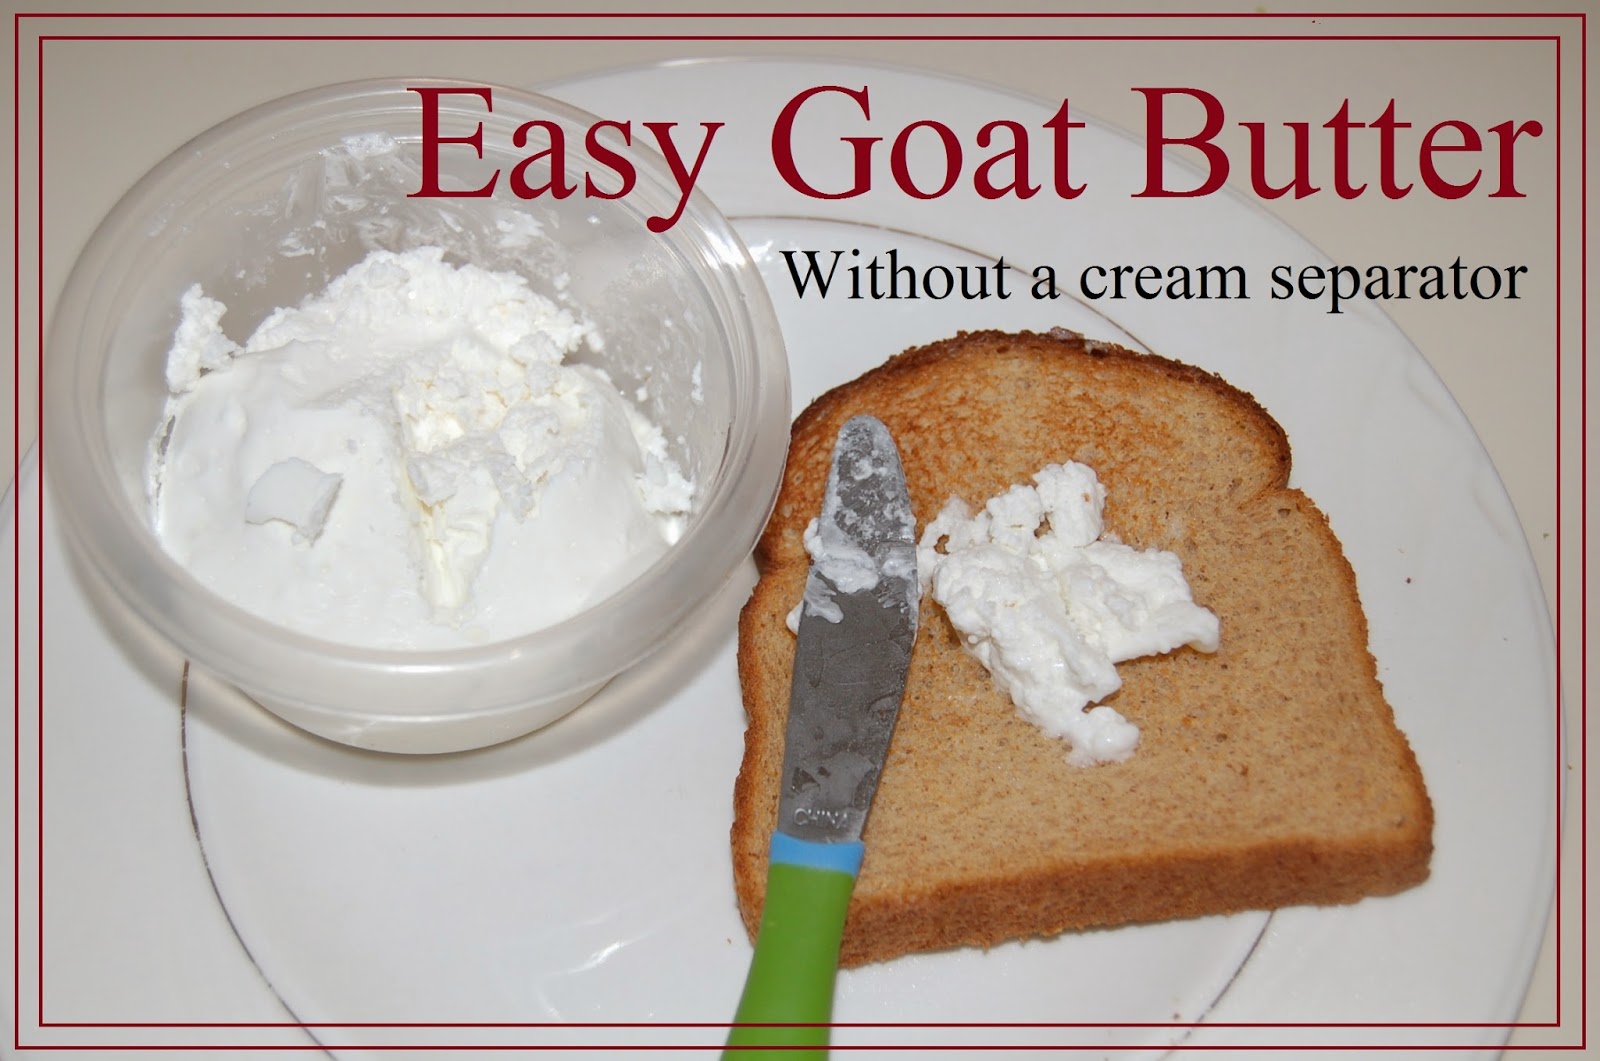
How to make goat butter

Goat butter is Sooooo easy. And we have yet to invest in a cream separator.  
But before I continue, I do have to disclose that we own Nigerian Dwarf  goats. Unlike most goat breeds, they consistently have about a 6% butterfat content in their milk. At certain times of the year, they are known to be even higher (around 8-9%) 
I only say this because I know many people who have told me that it is "impossible" to make goat butter. They say it is too hard because they cannot separate the cream from the milk.
 Another acquaintance stated that she could easily separate the cream, but didn't make butter because she didn't want to "waste" all of the skim milk after separating.
WASTE?....I think not. 
Personally, after separating the cream out, we use the skim milk for making goat milk soap, but you can also feed it to chickens and pigs. (I'm sure there are a few other options too!)
All you need to make the butter is 
-Goat Milk
-A mason jar
&
-a bulb turkey baster

Now, I did state that we don't use a cream separator, but I didn't take any pictures of how we gather the cream, so this is how we do it.
1) I filter the milk straight into a mason jar (usually quart size, but size doesn't matter)
2) I place the covered jar of fresh milk in the fridge for 2-3 days
3)I carefully take the jar out of the fridge trying not to shake or disturb it a lot.
4) using the baster, I slowly suction the cream off of the top and work my way down.
(about 1/6 th of the way down) (sometimes it takes a few go's at it)
5) I squeeze the cream out into a separate quart sized mason jar until it is half full
(You can freeze the cream if you don't have enough)

I have read that some people use large flat trays to separate the cream, and then "skim" the top, but I prefer to use a taller cylindrical container (I't makes for easy suction)
If you get a little extra milk, it doesn't hurt it when you make the butter (you will just get less butter)

This is my jar of Cream which I have already separated from the goat milk. The skim milk was used for goat milk soap. 
I had to collect this cream for about 3 days, so I just froze it each day until I had enough.
When I was ready to make the butter, I removed the jar from the freezer to allow the cream to get to room temperature  before I began.

To make the butter is easy. Just shake the jar. and then Shake it some more.....and some more....then recruit someone else to help shake it.....
We usually shake the cream for about 15-20 minutes before we get our butter.

You can open the lid and look inside to see the globules of butter forming and sticking together. Typically they form a sort if disc shape in the center of the jar. The butter will be floating on top of the .....buttermilk.  Mmmmmmmm

 Here you can see from the side of the jar how much butter there is floating on top of the buttermilk. It is kind of hard to see, but if you let the jar sit for a minute after shaking, it will settle some and allow you to make the distinction.

Slowly drain the buttermilk into another container. The butter, while floating, will usually stay to the back as the buttermilk drains out.

Here is the cream separated into butter and buttermilk. We use the buttermilk for making pancakes or other cooking projects. 

The butter will still have some buttermilk in and on it, so it must be rinsed to prevent souring. I use cold water (which will help to harden the soft butter)

Pour out the milky water carefully. The first time you lose your hard work down the drain, you will pull your hair out. 

Here you can see a cloudy mess of water under the butter.

Continue to rinse and drain the butter until the water pours out clean and clear. Work slowly....This is not a time critical mission.

After the final rinse, I use my finger to help hold the butter back while I drain every last bit of water out of the jar. 

Then I pour the butter, which is fairly soft, directly into the container I will keep it in the fridge.  The picture below shows the different texture the butter will have once it has been allowed to cool off in the fridge and become hard. 

We keep our butter salt free, but of course if you want to add salt, you should mix it into the butter while it is soft (just before putting it in the fridge)
Butter is EASY.....NOW GO MAKE SOME!!!!!!!!

Thanks from Our Little Backyard Farm


Sunday, August 17, 2014

Kids Mud Obstacle Course


So,.....although we can take credit for all of the building of this obstacle course, we can not take credit for blogging it first.  A very good friend of ours (Christy Marshall) blogged our son's party last year and she did a FANTASTIC job. Her cover photo, and blog address is at the bottom of this post. You gotta check it out, because all of her pictures are closeups of the obstacles prior to the race. She focuses more on the "fun" aspect of the race, while I will explain more of "the build", and hopefully show everyone how easy and cheap you can create the birthday party adventure of your childs' life. This course cost us only $60.00 to build (and about 40 man hours).  It was large enough that it took our kids over three minutes to run it at a dead sprint when everything was dry.  
Throw in a LOT of mud and about 30 more bodies, and it makes for quite a fun race. 

First thing's first, I needed to make a track.  The easiest thing to do was to let the grass grow well over the length that I would normally cut it. Then I just mowed a loop-De-Loop track which weaved in and about itself. The fact that we live on 3 acres was definatly a plus, although we only allowed the track to be on the south acre and a half.  Over the course of the next two weeks, and one more mowing, the track became very VERY clear.   
Besides obstacles, the only other thing we needed was direction arrows.  (I used an old can of orange marking paint.)

For the obstacles:
-Hay bales - $60.00 for 20 bales
-Pallets - free from local lumber yard
-tunnel - free from kids play things (ready to toss)
-rope - free (old clothes lines we were replacing)
-4x6's - free cribbing from lumber yard
-stumps - free, from a dead tree on our property
-tires - free from tire repair shop

Rat Run
The rat run was an easy build. each hump took two pallets, 1 hay bale, and a little bit of rope. I began by taking two apllets and standing them up next to each other. On the top, rope was used to lash the two pallets together loosely. Then the pallets were spread out at the bottoms, over a hay bale, until the pallet touched the bale. This made for a very stable platform.  Three of these humps were placed together to make the rat run.  

Log climber
The log climber took a little bit more muscle to complete. It started with a tiller and shovel. I boxed out the area I wanted to make the pit in, and began running a tiller back and forth to loosen up the soil. After a few passes, the easy part was over. A shovel was then used to mound up the dirt on both the front and the back of the pit. Actually, the mounds create another element to the obstacle. Then I took a few longer logs and spanned the pit to complete it.
Some kids climbed over the log, and some were much more adventurous and crawled underneath them (They got a little bit more muddy than the others!!)

Rope Crawl
The rope crawl was easy. Like the log climber, I used the tiller to prep an area for the mud pit. The only difference is the depth of the pit (The climber was much deeper).
A few short stakes were cut from the dead tree and used to suspend the old clothesline above the mud. 

Most of the kids didn't want to crawl, so they elected to try to hop through it. The best part was that the mud made this very difficult and it caused a few faceplants directly into the mud. (I had silent giggles every time this happened.)

Tire hop.
The tire hop was the easiest of all. Almost any tire repair shop will gladly give you as many old tires as you want. They have to pay for disposal, so why the heck would they not want to get rid of them for FREE!!!!. If they try to charge you......go to the next one.
As far as set-up.........Ummmm.......I don't think i'm gonna explain this one. Just look at the picture and replicate it.

Balance beam
The balance beam was completed with a shallow mud flat which was tilled first. Then a few stumps were buried partially into the flat at the right distance apart to allow for the 4x6 cribbing to lay on top of them. 
4x6's were used flat to add stability to the obstacle.

Hay Mountain
Another one which needs no explanation. 

Corn tunnel
The corn tunnel consisted of two hay bales on either side of a shallow mud flat, with 1 pallet spanned across them. A bundle of corn stalks were placed across the top to sort of conceal the tunnel and allow for a little bit of variation among the tunnels.

Pallet tunnel
Just like the corn tunnel, only without the corn. (Duh!!!)

Rabbit hole
The rabbit hole was made just like the corn and pallet tunnels, only it included a childs tunnel which was about to be thrown away. This constricted the tunnel significantly for the larger kids and it too was filled with mud. So for anyone who was "TRYING" to stay somewhat clean.......lol...not anymore.

Mud Pit
This Mud pit was made just the same as the log climber, but instead of logs, we just added more water to help "soup things up" a bit. 

After all of the racing was done,  most of the kids went back to their favorite obstacles for a second, third or even endless chance to have morefun. Miranda and her friend decided to chill in the mud pit while soaking up a little sun. THAT'S MY GIRL!!!!!!

NOW......since you have a better idea of how to build this friggin' AWESOME course.  Go check out Christy's blog too for a close up of each of the obstacles (including a few which are not on here.)
Thanks for checkin' us out.
OLBF

Sunday, August 3, 2014

Homemade Goat Cheese


Homemade goat cheese is the BEST!!!!.  This method is about as simple as it gets in the cheese making tutorials. All you need is......
-goat milk (about a gallon)
-rennet (or vinegar, although vinegar can sometimes leave a weird after taste)
- half a lemon
and
-salt and other fun things to add in if desired. (read on)

First we bring the milk u to between 90 and 100 degrees F and attempt to hold it there.

While the milk is heating up, this would be a good time to play on your smart phone and update your FB status.  Wait,....No....I meant it would be a good time to add a few drops of rennet into about a half of a cup of water. 

Along with the rennet, add a teaspoon of lemon juice into the water too!

When the milk reaches 90-100 degrees F, slowly pour the water mixture into the pot while stirring slowly. Continue stirring for a few minutes and then turn off the burner and cover the pot. 
Leave the pot alone for an hour or two. 
When you uncover later, the whole top layer of milk should be curd. 

Use a knife and slowly cut through the curd deeply to create 1 inch squares. 

After you are done cutting the curd, use a slotted spoon to carefully remove the curds from the pot while straining the whey. 

Or you can go for the less labor intensive method (like my wife typically chooses) and just pour the whole thing into a cheese cloth lined strainer while is settled nicely above a large pot to catch the whey. 

In our house, the whey is saved for making morning smoothies (Yum and YUM!!!!)

Once the curds are all in the cheese cloth, tie up the ends and hang it above the bowl to drain the excess whey. This can take a while, so walk away for a while and fight the urge to open it before it is ready. Ours took about 2 hours, but I can easily take many more. 

This is the "read on" part where we add goodies to make the cheese even BETTER. Add about 1 tablespoon of sea salt (or kosher salt) to each gallon of milk used.
-also, we like to add other flavoring to mix in to the crumbly soft cheese as well. Flavorings such as chopped green onions, honey, basil, nuts, etc.  

We find it easier to crumble the cheese up, sprinkle the salt and other flavorings in, mix well, and press it down into the containers. After refrigeration, the cheese is still soft, but can be chunked out of the container without it crumbling to pieces. 
ENJOY!!!!!!!
thanks for visiting Our Little Backyard Farm. 

Friday, May 16, 2014

home made cornmeal

An easy task.....grinding your own cornmeal / cornflour

Grinding our own flour / meal was something that we knew would be easy, but we didn't really want to spend over a hundred dollars on an electric grain mill. Luckily, I came across a few hand operated grinders on ebay for anywhere from 24.95 to 39.99.  I elected the cheapest one first (just to see how "bad" it was gonna be.)  I read numerous complaints about the fact that these cheaper models don't really do anything  more than just "crack" the grain.  So I figured I could at least  use it to crack corn for the chickens.  Needless to say, it works much better than expected, you just need to run the grain through it more than a few times to get the desired results.

This is the hand grinder I bought for 24.95 (free shipping too!)
I decided to try corn first.

You will also need a strainer and a bowl.

After filling the grinder with the corn (or whatever grain you are using), I suggest using a large plastic ziplock and a rubber band to catch the millings. It is not necessary, but it can make quite a mess otherwise. 

This is the perfect time to get the kids involved. (unless of course you have an electric one.) Start the grinding plates out with a decent gap where most of the kernels are cracked. Then, refill the grinder with the millings and reduce the gap between the grinding plates. Regrind. Refill. Reduce gap. Regrind. Refill. Reduce gap. Regrind.....are we seeing a pattern here yet? Keep it up until you get the desired texture. This batch we did took 7 times. The more you do it, the more meal / flour you will get and the less tailings that get feed to the chickens. 

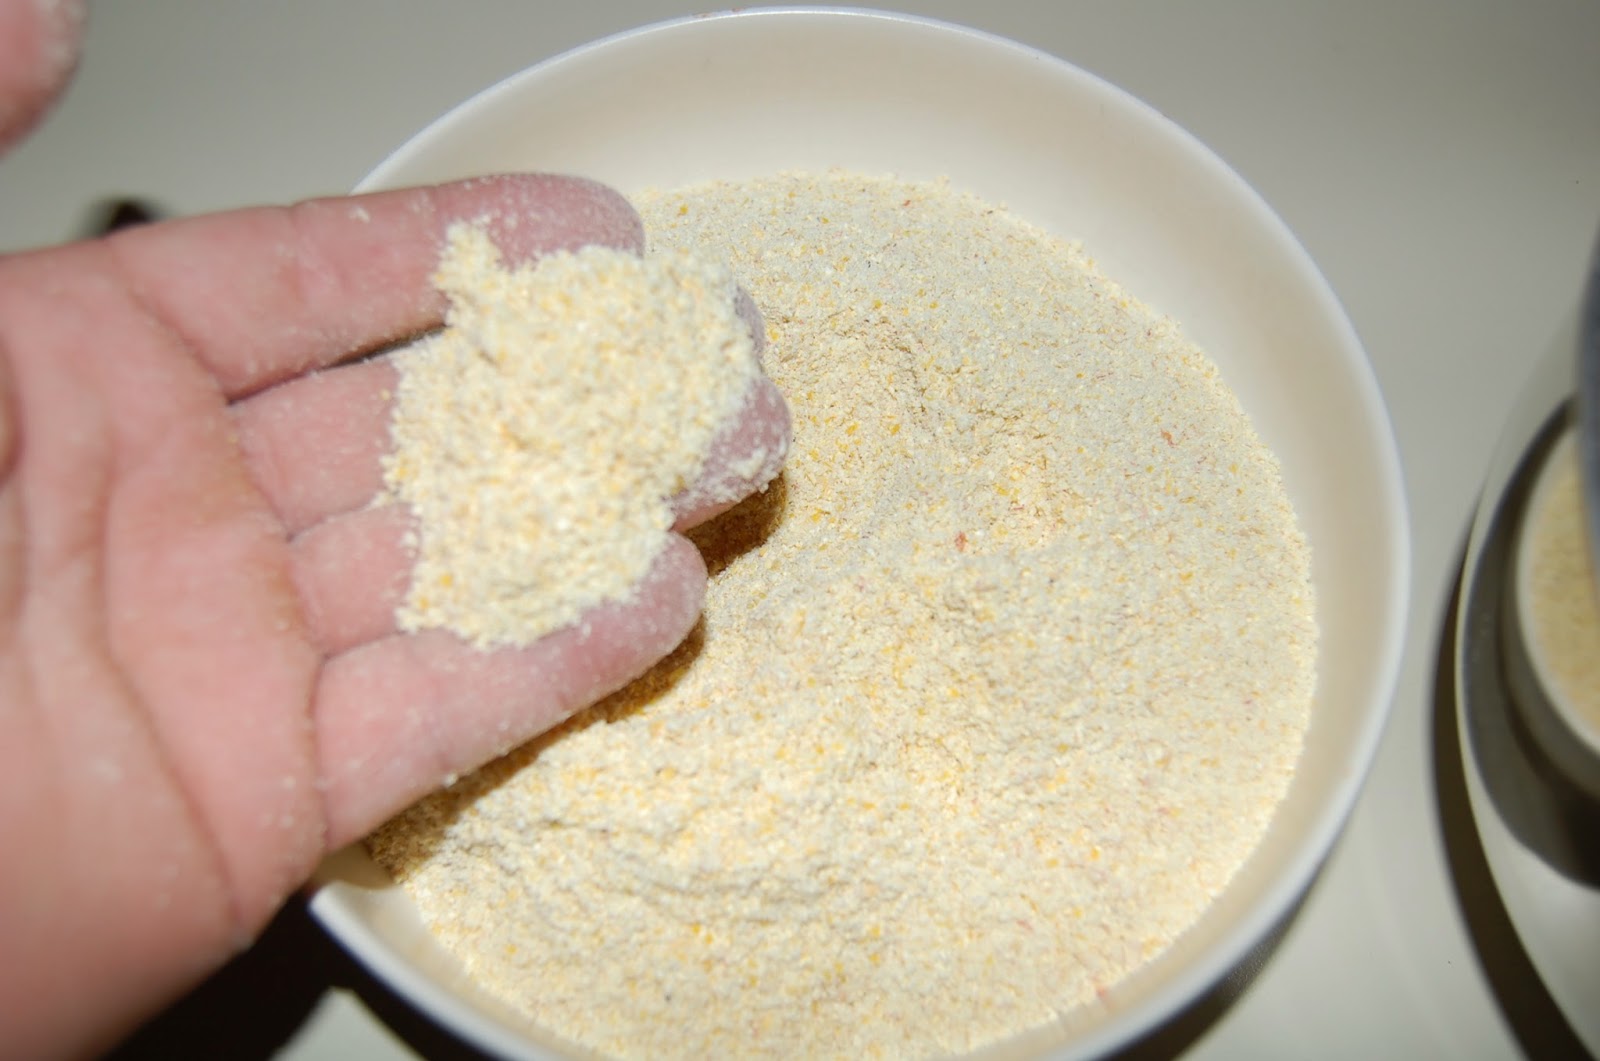
The first bowl shows the texture after the first run through the grinder. The second bowl is after 5. I probably could have reduced this to 4 or five grindings by reducing the gap more between each grind, but I don't like to over work the grinding plates.


After the last grind, I dump the millings into the strainer which has been placed in the bowl. (I do this in small amounts so I have room to shake, rattle and roll.

The left bowl is the final product I wanted (cornmeal). The bowl on the right is the tailings I will feed to the chickens. These are much finer than the cracked corn you get at the farm stores, so I like to mix them into the chick feed when the chicks are about 3 weeks old.

Time to bread some fish.....or make corn muffins!!!!
Thanks for checkin us out.
OLBF

Monday, March 31, 2014

Homemade maple syrup

How we make our Homemade Maple Syrup
Maple syrup is super easy to make. Anyone can do it. All you need is a way to gather the sap, and a way to cook it down. One method of gathering sap is somewhat more modern, utilizing T-connections and hoses to create a system which brings all of the sap to a single collection point. Of course, anyone who knows our family, knows that we sometimes like to do things the hard way. Or what we like to call "old school". One of the best christmas presents ever given to me was three years ago when I tore through the carefully wrapped paper to reveal three well used metal sap buckets. In the bottom of the buckets were the same number of spiles, and upon lifting them out of the box, the lids underneath. I couldn't wait to tap my silver maple. Yes "silver maple". Most people think you have to tap sugar maples, but essentially, you can tap any maple. I have even heard of people tapping birch trees and rendering birch syrup. 
This year, we made sure to involve the children in every step of the process. 

First, as you can see in the pictures above, and below, we used an old hand powered drill with a 3/8 inch drill bit to make a hole for the spiles to seat into. When choosing a place for the hole, try to drill above a large root. (the sap is stored underground in the roots through the winter, and when it begins to flow back above ground, It will travel the easiest paths.)  Drill the hole at a slightly upward angle, about 1 1/2 to 2 inches deep.
Trees are tapped in very early spring when the temperature falls into freezing temperatures at night, and thaws during the day.  This essentially creates a back and forth flow of sap. 

After the holes are drilled, gently tap the spile into the hole. It is not rocket science here folks. You don't need to be the Hulk, and you don't want it to fall out either. Give it a small tug to see if you think that a 2 gallon bucket hanging on it will pull it out or not. (chances are, a few gentle taps on the hammer will do just fine.

Hang the buckets from the small hooks on the bottom of the spiles.

Place the lids on the buckets. These also attach to the spile as well.

Here they are. Awaiting the sap flow.
Check the buckets daily. On good days, you might even have to check them twice.

Here you can see the sap dripping from the end of the spile. The sap is almost like water. In fact, it is only about 1-3 % sugar and the rest IS water. If you dip your finger in the sap and taste it, you can catch a tiny hint of the yummy sugars. The water is evaporated out during the cooking process to create the high concentration of sugars we love and know as "SYRUP". Cooking it down even further, will yield maple candy (but that is for another day.......)

Most of the sap we collect is transferred to empty water jugs and frozen until we have enough to render down into a good batch of syrup. The usual ratio of sap to syrup is this:  It takes 40 gallons of sap, cooked down to make 1 (ONE) gallon of syrup. Early in the season, when the sugar concentration is higher, it will take less, and later in the season it may take more. 
To evaporate most of the water out of the sap, we use an electric skillet. As the sap level lowers, we continually "top off" the skillet with fresh sap. The water evaporates, leaving the sugars behind. The more sap you render down, the higher the concentration of sugar. The main cooking process is done outdoors (can you imagine how sticky the walls would be in the house after you turn 20-40 gallons of water into vapor.).

When the sap is mostly rendered down, or in our case, when daylight is running short and you need to quit for the day, we take the rest inside and finish the syrup off in a large pot on the stove. By doing this, you cut the surface area down dramatically and can control the thickness of the syrup much more easily. Every now and then, turn off the burner and place a small spoonful into the refrigerator for a few minutes to check the thickness. 
We prefer to leave it slightly thinner, it seems to have less crystalizing of the sugars over the course of a few months (if it makes it that long)
This was our first batch of the 2014 sugaring season. About 14 gallons were rendered down to make the 3 cups of syrup in the main picture.
Thanks for checkin us out again. 


Wednesday, February 5, 2014

WINTER


Hello.  We are still here.  Just not doing much blogging these days. Smokey (the male goat) says hi.  He likes the snow.  The girls prefer the shelter (smart girls!).


Here is our wiki-up covered in snow, with our lab, Callie out in front.  We just got about a foot of snow.  The kids are out of school, AGAIN and upset that I won't take them to Nanni's for hot chocolate and fun.  Apparently our hot chocolate and fun isn't good enough.  
We did get them outside and playing.  This snow is light and powdery, so no snowmen, but we have fun sledding and making snow angels. 

Our chickens are cold and unhappy and are not laying eggs - I miss fresh eggs so much!  Store bought are just no where near the same.  
We are burning through firewood like crazy and have found that pinecones and dryer lint are great firestarters, but Jon's paper logs (info to come) are great for kindling! 

Please feel free to comment on how you are enjoying your winter!