Goat butter is Sooooo easy. And we have yet to invest in a cream separator.
But before I continue, I do have to disclose that we own Nigerian Dwarf goats. Unlike most goat breeds, they consistently have about a 6% butterfat content in their milk. At certain times of the year, they are known to be even higher (around 8-9%)
I only say this because I know many people who have told me that it is "impossible" to make goat butter. They say it is too hard because they cannot separate the cream from the milk.
Another acquaintance stated that she could easily separate the cream, but didn't make butter because she didn't want to "waste" all of the skim milk after separating.
WASTE?....I think not.
Personally, after separating the cream out, we use the skim milk for making goat milk soap, but you can also feed it to chickens and pigs. (I'm sure there are a few other options too!)
All you need to make the butter is
-Goat Milk
-A mason jar
&
-a bulb turkey baster
Now, I did state that we don't use a cream separator, but I didn't take any pictures of how we gather the cream, so this is how we do it.
1) I filter the milk straight into a mason jar (usually quart size, but size doesn't matter)
2) I place the covered jar of fresh milk in the fridge for 2-3 days
3)I carefully take the jar out of the fridge trying not to shake or disturb it a lot.
4) using the baster, I slowly suction the cream off of the top and work my way down.
(about 1/6 th of the way down) (sometimes it takes a few go's at it)
5) I squeeze the cream out into a separate quart sized mason jar until it is half full
(You can freeze the cream if you don't have enough)
I have read that some people use large flat trays to separate the cream, and then "skim" the top, but I prefer to use a taller cylindrical container (I't makes for easy suction)
If you get a little extra milk, it doesn't hurt it when you make the butter (you will just get less butter)

This is my jar of Cream which I have already separated from the goat milk. The skim milk was used for goat milk soap.
I had to collect this cream for about 3 days, so I just froze it each day until I had enough.
When I was ready to make the butter, I removed the jar from the freezer to allow the cream to get to room temperature before I began.

To make the butter is easy. Just shake the jar. and then Shake it some more.....and some more....then recruit someone else to help shake it.....
We usually shake the cream for about 15-20 minutes before we get our butter.

You can open the lid and look inside to see the globules of butter forming and sticking together. Typically they form a sort if disc shape in the center of the jar. The butter will be floating on top of the .....buttermilk. Mmmmmmmm

Here you can see from the side of the jar how much butter there is floating on top of the buttermilk. It is kind of hard to see, but if you let the jar sit for a minute after shaking, it will settle some and allow you to make the distinction.

Slowly drain the buttermilk into another container. The butter, while floating, will usually stay to the back as the buttermilk drains out.

Here is the cream separated into butter and buttermilk. We use the buttermilk for making pancakes or other cooking projects.

The butter will still have some buttermilk in and on it, so it must be rinsed to prevent souring. I use cold water (which will help to harden the soft butter)

Pour out the milky water carefully. The first time you lose your hard work down the drain, you will pull your hair out.

Here you can see a cloudy mess of water under the butter.

Continue to rinse and drain the butter until the water pours out clean and clear. Work slowly....This is not a time critical mission.

After the final rinse, I use my finger to help hold the butter back while I drain every last bit of water out of the jar.

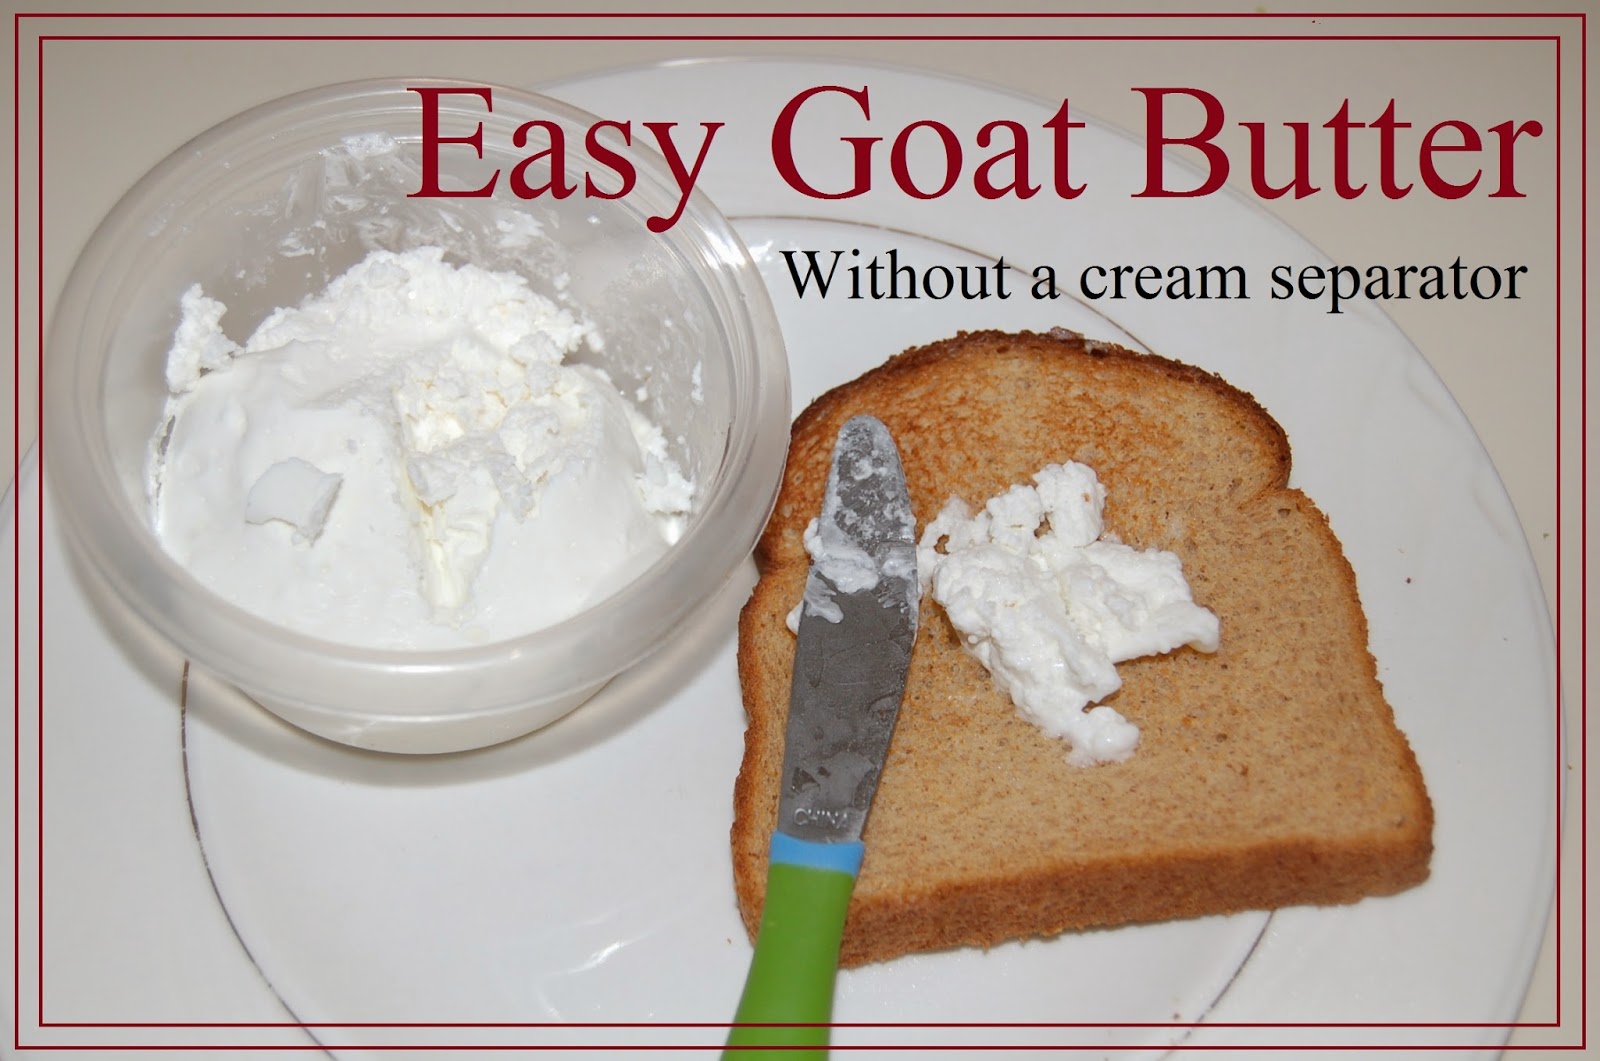
Then I pour the butter, which is fairly soft, directly into the container I will keep it in the fridge. The picture below shows the different texture the butter will have once it has been allowed to cool off in the fridge and become hard.

We keep our butter salt free, but of course if you want to add salt, you should mix it into the butter while it is soft (just before putting it in the fridge)
Butter is EASY.....NOW GO MAKE SOME!!!!!!!!
Thanks from Our Little Backyard Farm
No comments:
Post a Comment